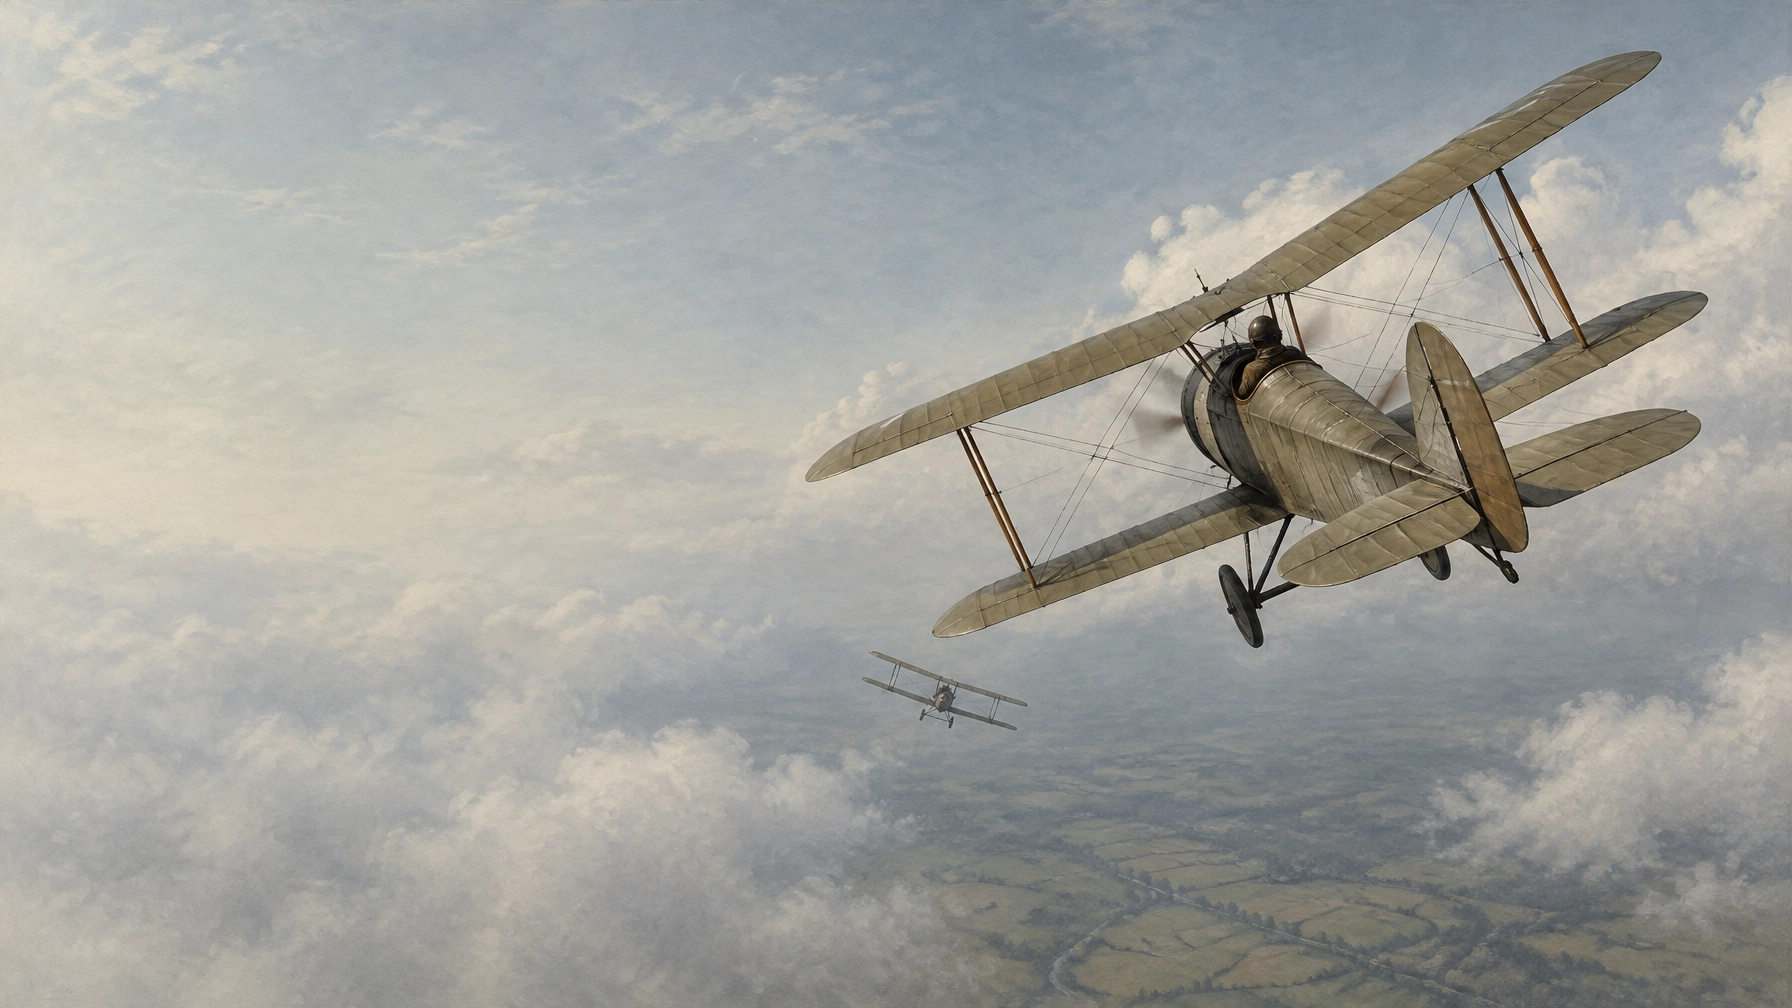
A ww1 dogfight wasn't simply a test of who could turn fastest or react first. In 1916–1918, a pilot had to spot danger, judge the other aeroplane's position, and decide whether to attack, manoeuvre or get away. Height, speed, aircraft handling and a brief chance to fire all shaped the outcome. The turning and shooting might be the most visible part of the fight, but many of its important decisions came first.
A WW1 dogfight was a chess problem in three dimensions
The aeroplanes were small, slow and fragile by modern standards. Pilots had limited ammunition, and British pilots generally flew without parachutes. To make a useful attack, they had to get close, often within a few dozen yards, and aim during a fast-moving encounter.
That left little room for a long, forgiving exchange of fire. A pilot who was surprised might have only moments to work out where the attacker was and what it was likely to do next. Breaking into a turn could avoid one firing line but put the aeroplane into another opponent's sights. Chasing a target could mean losing height, speed, or awareness of the rest of the fight.
So the question wasn't just, "Can I turn inside that aeroplane?" It was, "What can I do from this position, and what will it cost me?"
The pilot's most useful resource was energy: the combination of height and speed. A dive converted height into speed. A climb used speed to gain height. Either could create an advantage, but neither was free. Pull into a steep climb without enough speed and the aeroplane could stall. Lose control during a stall and it might spin. Dive too fast and overspeed could strain or damage the airframe.
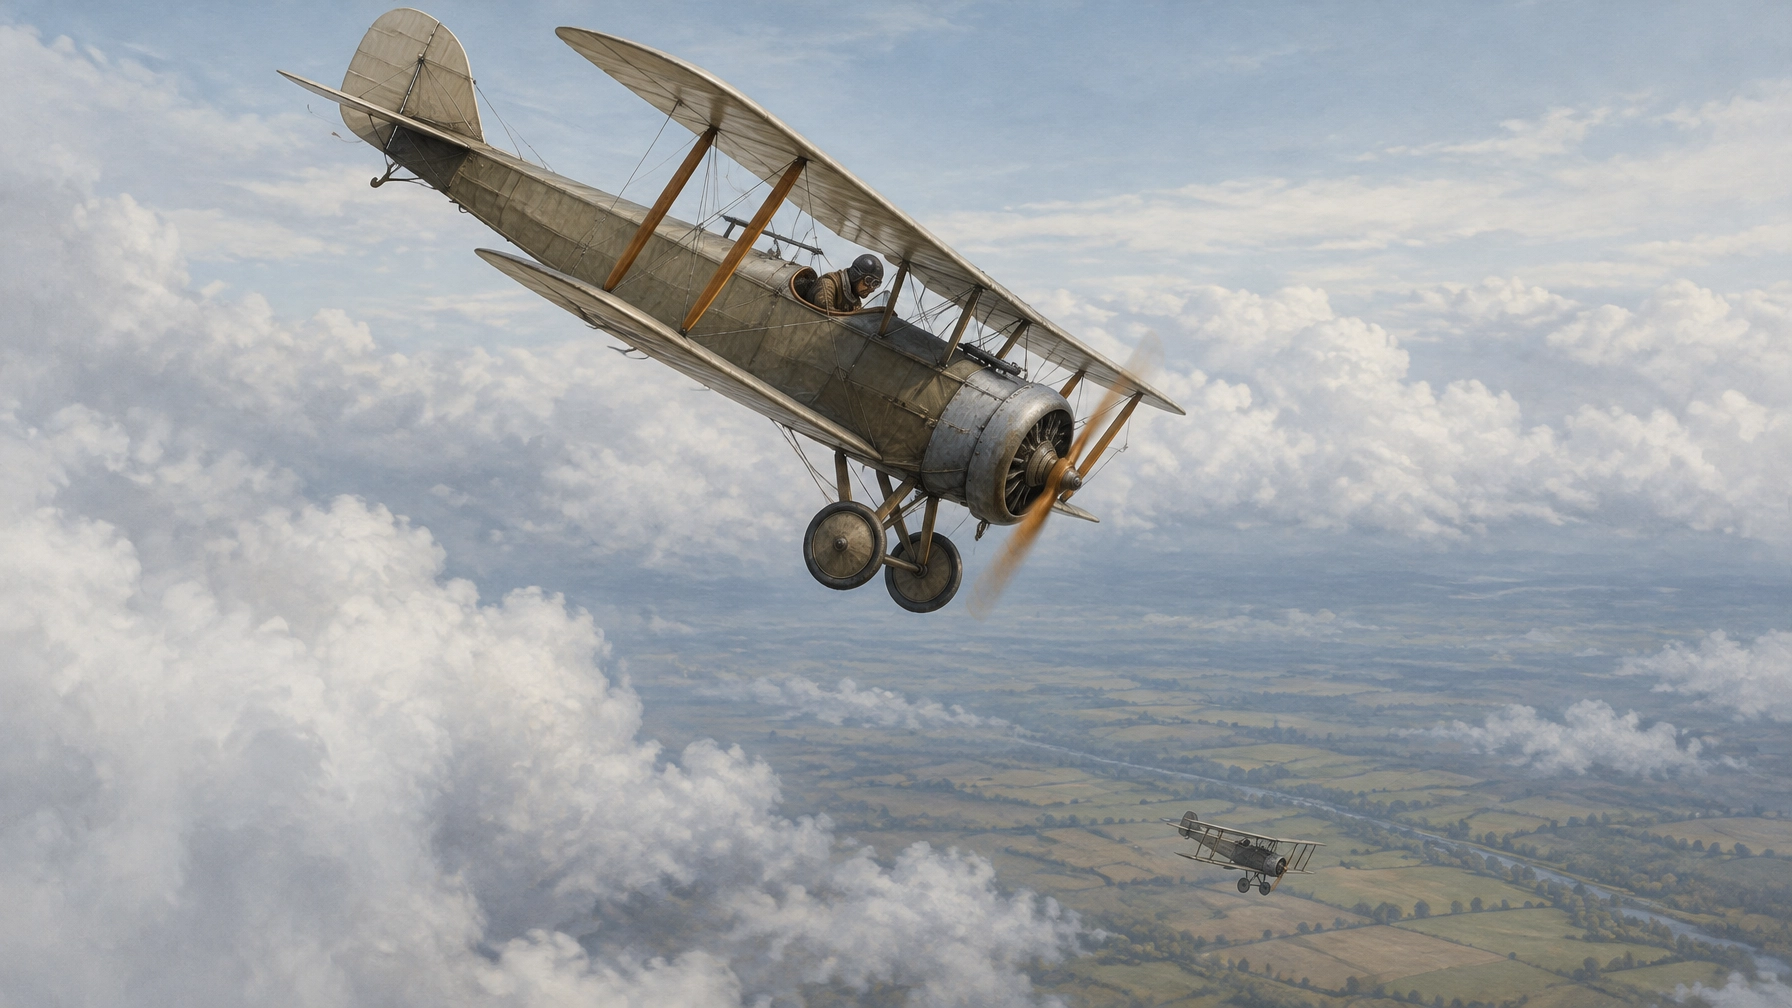
Thinking in terms of energy helps explain why a pilot might refuse a turning fight even when the enemy was close. If you still had height and speed, you had options: dive to attack, climb away, or use your speed to disengage. If you spent both circling low and slow, your options shrank.
The aeroplane shaped the right manoeuvre
WW1 fighter planes did not all reward the same tactics. A manoeuvre that suited one type could be a poor choice in another.
The Sopwith Camel could turn tightly, making it dangerous in the hands of a skilled pilot. But its rotary engine produced strong torque effects, and its handling could be abrupt and demanding. The RAF Museum describes the Camel's qualities as valuable to a capable pilot but hazardous for the unwary. Its turning ability was an advantage to exploit, not a reason to enter every fight in a tight circle.
The Albatros D.III offered a different mix of speed, climb and firepower. It was a capable fighter, but the type also became known for lower-wing structural failures. That weakness mattered: aggressive manoeuvring and combat damage had to be weighed against the condition of the aeroplane. Technical histories, including this Albatros D.III reference, provide more detail on the type and its development.
The Fokker Dr.I is remembered for its ability to turn tightly and perform well at lower speeds. Those qualities made it a distinctive opponent in a close fight, but they did not make it the fastest aeroplane in the sky or give it an answer to every tactic. A pilot who could choose when to fight at close range had an advantage over one who was simply drawn into it.
By contrast, the S.E.5a was known as a fast, steady aeroplane and a stable gun platform. Its strengths suited high-speed passes and disengaging rather than lingering in a slow turning contest. A pilot who understood the S.E.5a's character could preserve speed, attack from a favourable position, and use that speed to leave.
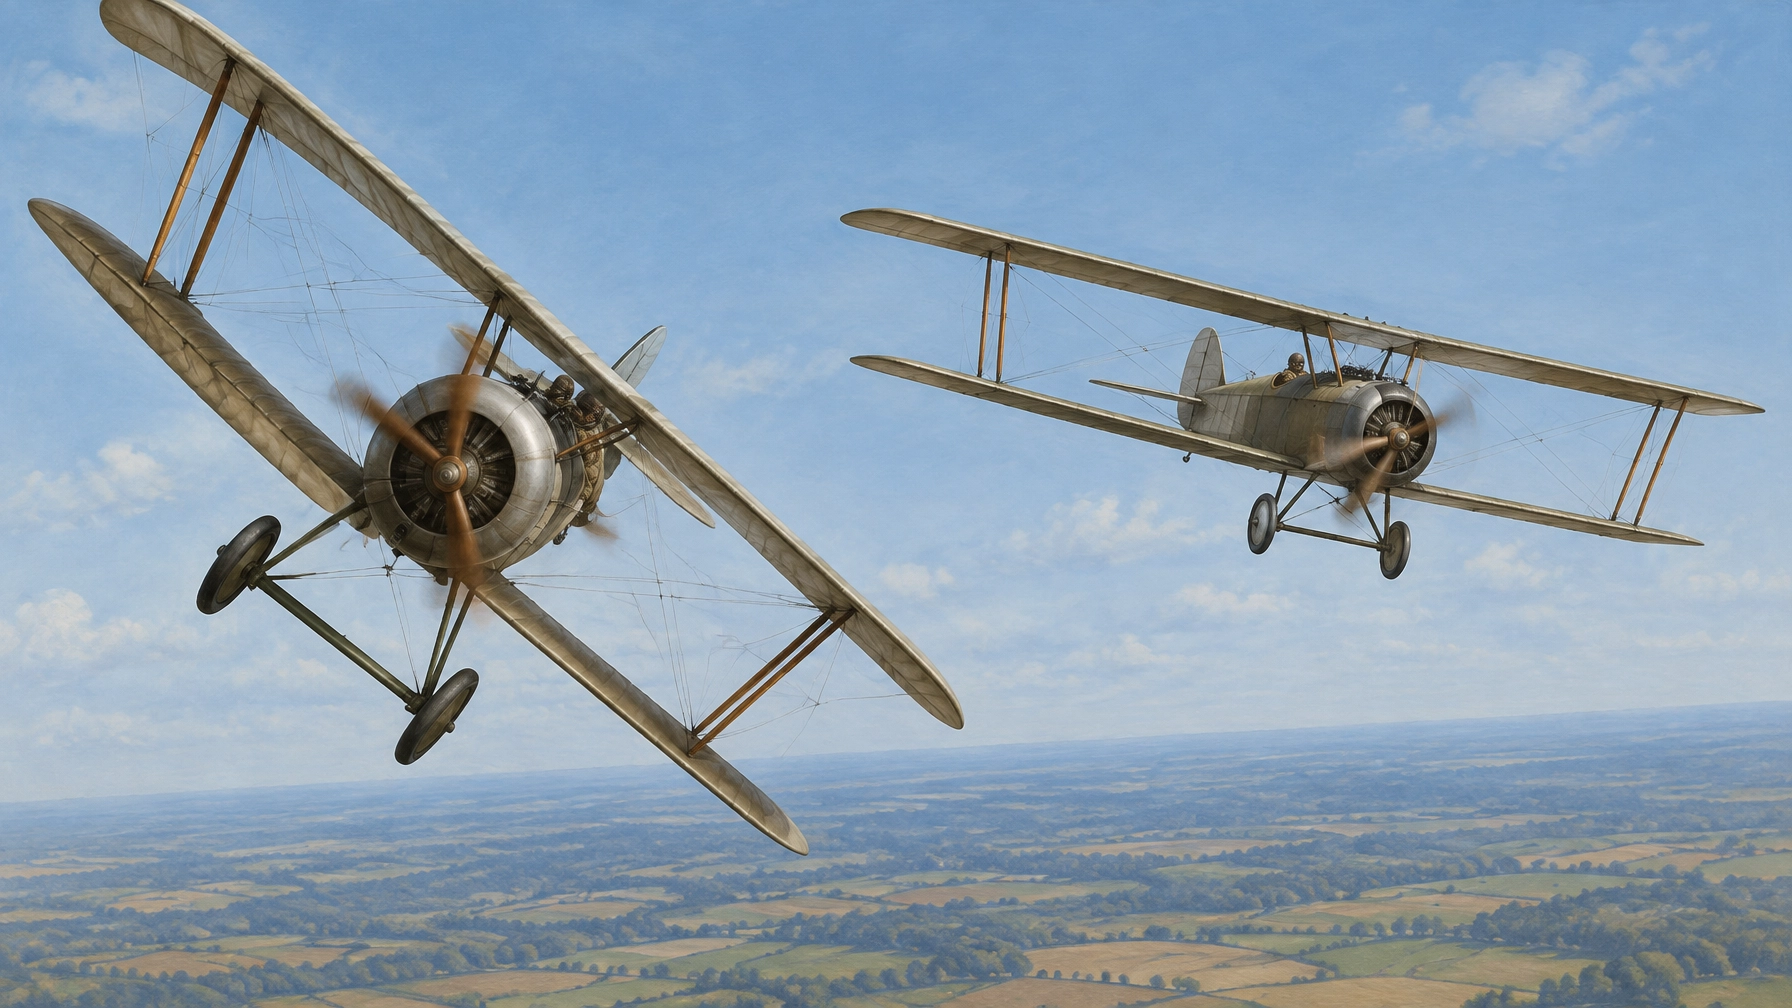
There was no universally best manoeuvre. The useful question was whether your aeroplane's strengths matched the fight you were choosing, and whether you still had enough energy to change your mind.
Surprise and discipline mattered more than spectacle
WW1 flying aces were not simply pilots who could keep turning until an opponent made a mistake. Successful attacks often depended on spotting the enemy first and arriving from a position of advantage.
The German tactician Oswald Boelcke's guidance stressed surprise, position and controlled attacks. His advice included trying to place the sun between yourself and the enemy, helping make an approach harder to see. You can read a version of the Dicta Boelcke, though its wording and presentation vary across later accounts.
Baron von Richthofen became associated with disciplined attacks from above, including using the sun and a height advantage to help conceal an approach. The point was not to perform a dramatic dive for its own sake. It was to begin the attack with the enemy at a disadvantage, get close enough to aim, and avoid spending energy on a pursuit that no longer made sense.
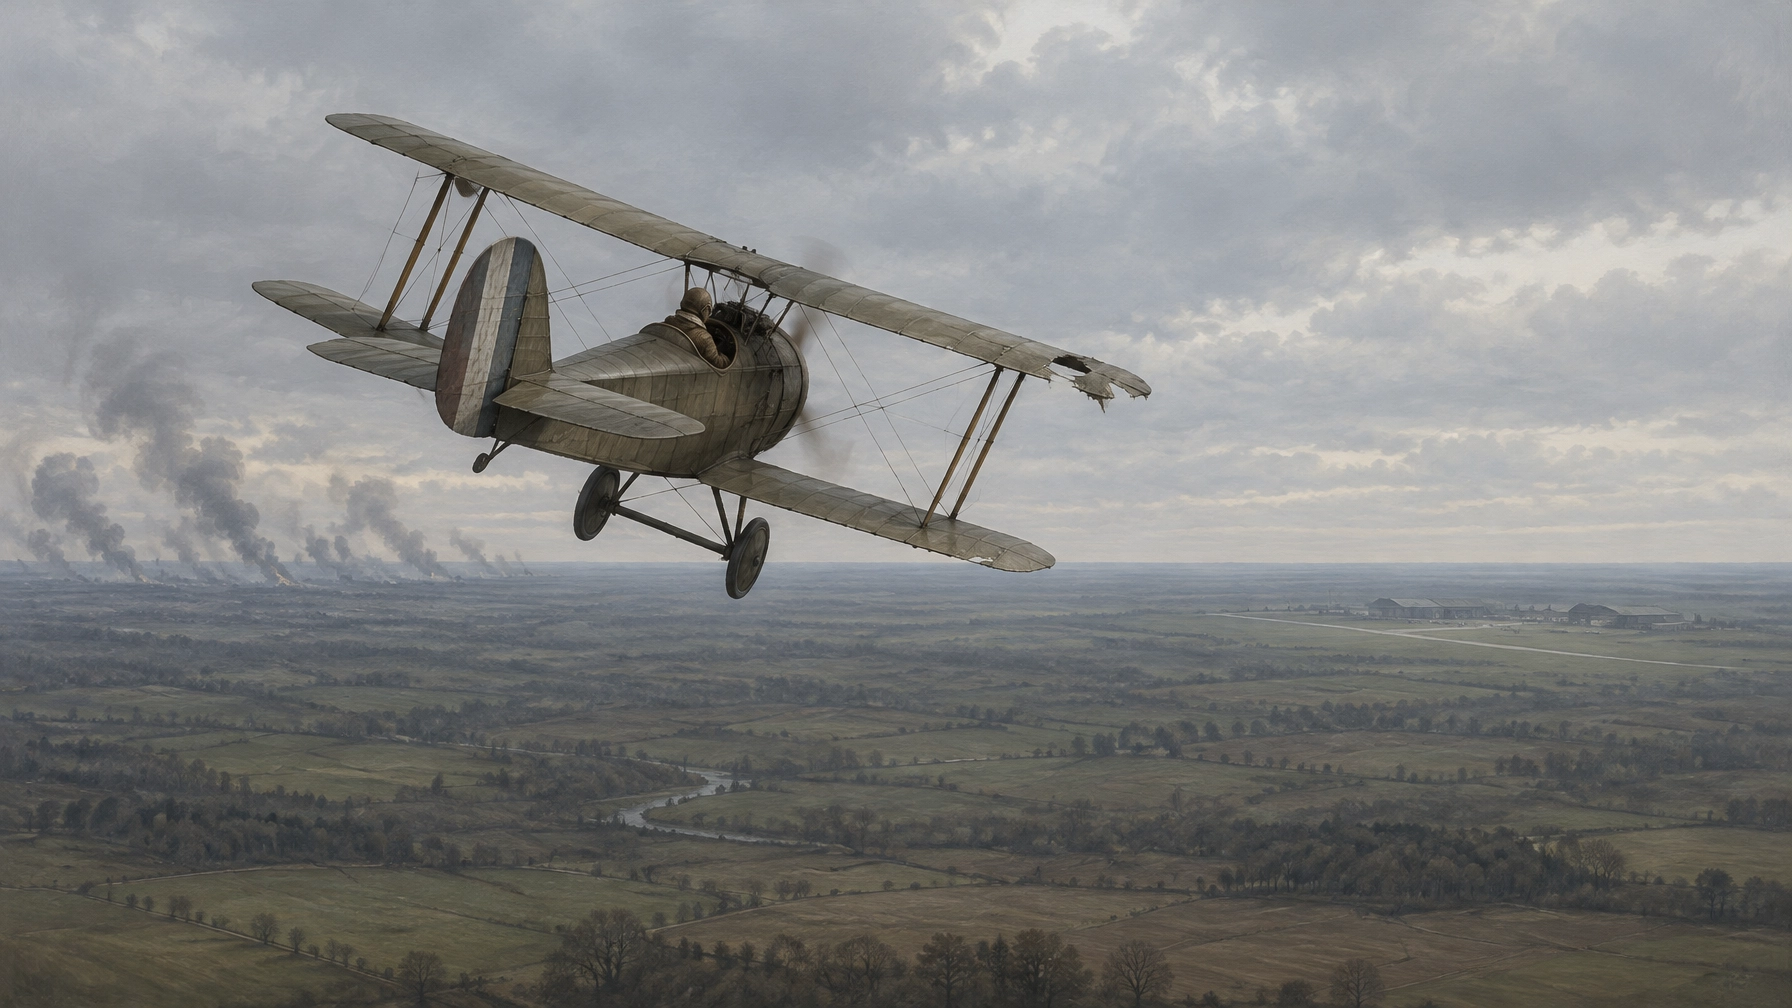
The same discipline applied when an aeroplane was damaged. A pilot had to decide whether it was still safe to fight. Poor controls, engine trouble, or a weakened airframe could turn one more pass into a fatal gamble. If the situation called for it, breaking off and trying to get home was a sound tactical choice, not a failure of nerve.
The pilot's decision loop
The basic sequence was simple to describe, difficult to perform, and easy to disrupt:
- Spot: Find the opponent and keep track of other aircraft nearby.
- Judge: Compare height, speed, direction and position. Is the enemy above you? Are you about to stall? Is there room to disengage?
- Choose: Select a manoeuvre that suits your aircraft and your energy state.
- Commit: Carry out the attack or defensive move decisively, while watching how the opponent responds.
- Disengage or continue: If your position turns poor, or your aeroplane is damaged, look for a safe way out.
That sequence is why describing a dogfight as a reflex test misses so much. Reflexes helped, but the pilot also had to read the situation and anticipate the consequences of each move. A turn might gain position while losing speed. A dive might create a firing opportunity while reducing height available for escape.
A useful takeaway for any tactical game is to protect your options. Before choosing a manoeuvre, ask what it will cost in speed and height, and whether you'll still have a way out if it doesn't work.
That decision loop is also at the heart of Combat Aces: WWI: choose a manoeuvre, manage energy and read the enemy's intent. It's a tactical game, not a recreation of specific historical events. If you'd like to try that style of decision-making, find Combat Aces: WWI on the App Store.
FAQ
What decided a WW1 dogfight? Often, the key factors were spotting the opponent, gaining a favourable position, managing height and speed, and making an accurate attack.
Did WW1 fighters mainly turn in circles? Turning fights happened, but they were not always the best choice. A pilot might use a dive, climb or burst of speed to attack, or to break away.
Why was energy important in WW1 dogfights? Height could be traded for speed in a dive, while speed could be traded for height in a climb. Managing both helped pilots maintain options and avoid stalls, spins and dangerous overspeed.