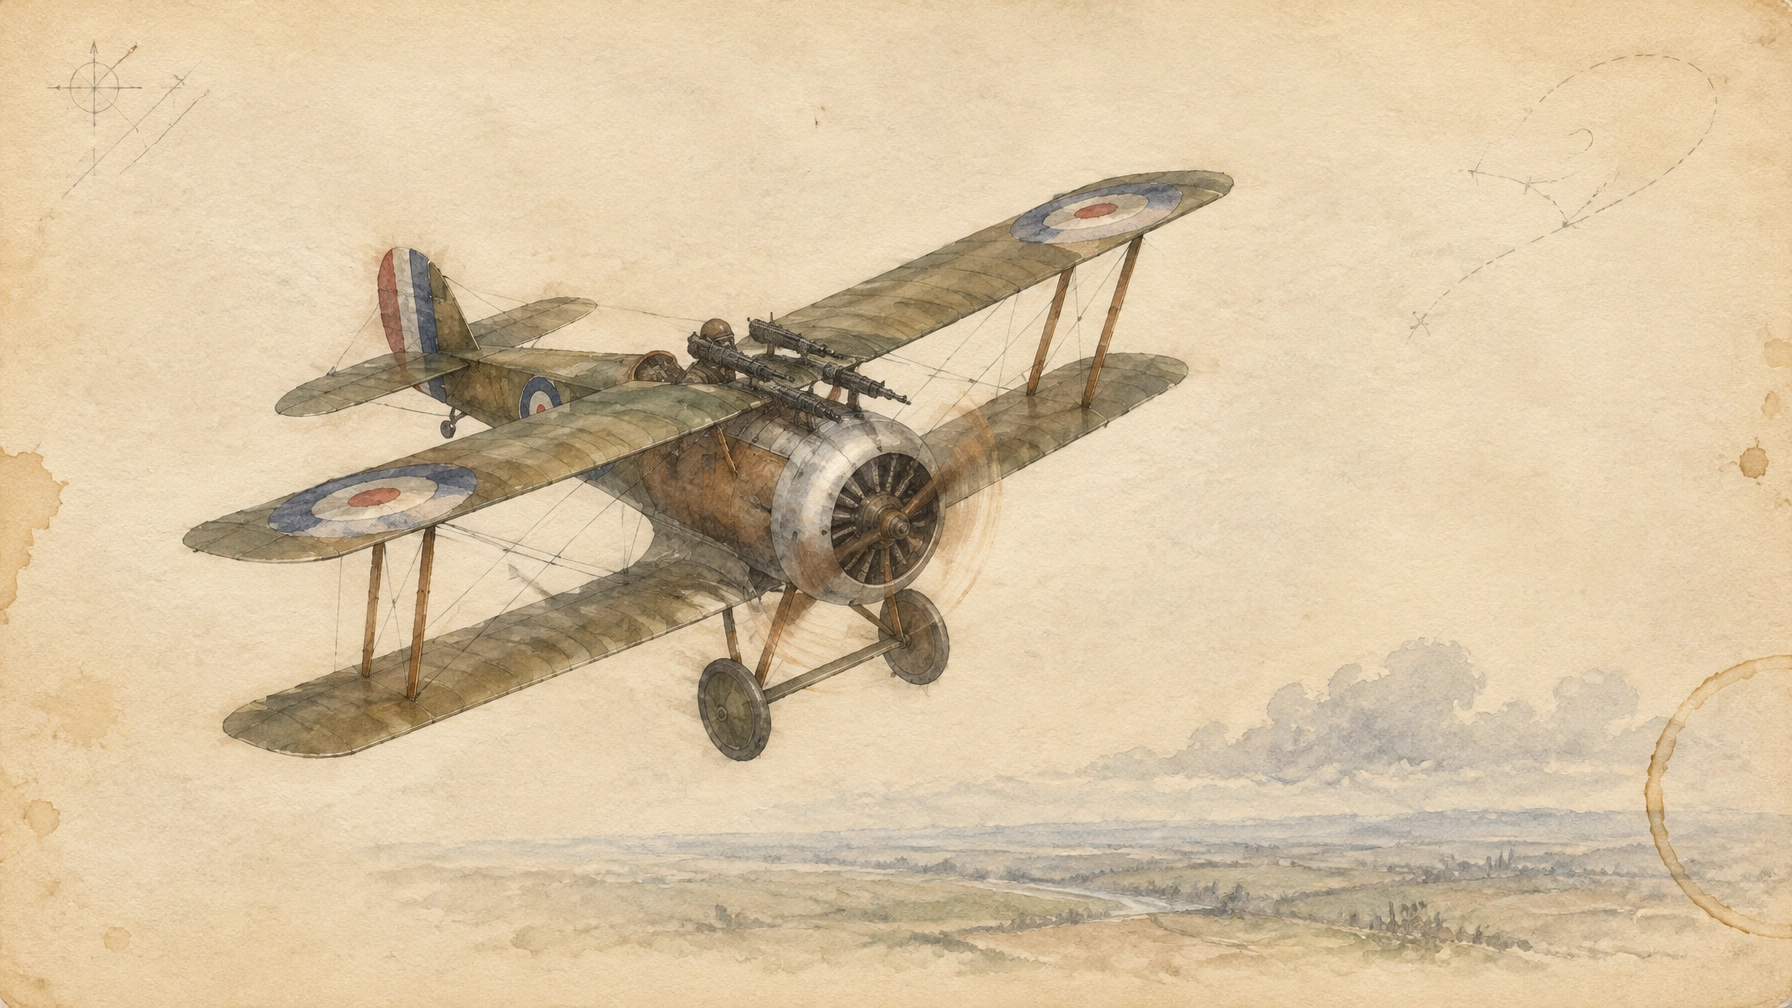
In 1917, a Camel pilot entering a turn had more to manage than the aeroplane in front of him. The whole rotary engine revolved with the propeller, giving the aircraft a lively, uneven response. A quick movement of the controls could bring the nose around sharply, or leave a new pilot fighting a stall and spin close to the ground.
The Camel was a single-seat British biplane fighter that entered service in 1917. It became the most successful Allied fighter type of the war by victories credited to the aircraft, and one of the most demanding machines its pilots had to master. Its strengths and risks came from much the same source: a light, responsive airframe with a concentrated mass around the nose.
Sopwith Camel handling: the rotary engine changes the turn
The Camel's name came from the raised fairing over its twin Vickers guns. Beneath it sat a rotary engine. Unlike a stationary radial engine, the cylinders themselves spun around the crankshaft with the propeller. The rotating mass and the airflow around the aeroplane combined to give the pilot an unusually strong response to changes in direction and pitch.
That effect is often described simply as torque, but the handling was more involved. Gyroscopic precession mattered, and the response changed with the direction and force of the manoeuvre. The pilot could not assume that the same control input would feel the same in a turn to either side.
A useful qualification: the Camel's reputation is often summed up as a rapid right turn and a slower left one. That is a fair description of its abrupt response in some combat manoeuvres, but it is not a universal rule about every sustained turn. The key point for a pilot was the asymmetry. In a hard right-hand turn, the nose tended to drop; in a left-hand turn, it tended to rise. The pilot had to use rudder and elevator deliberately to keep the turn under control.
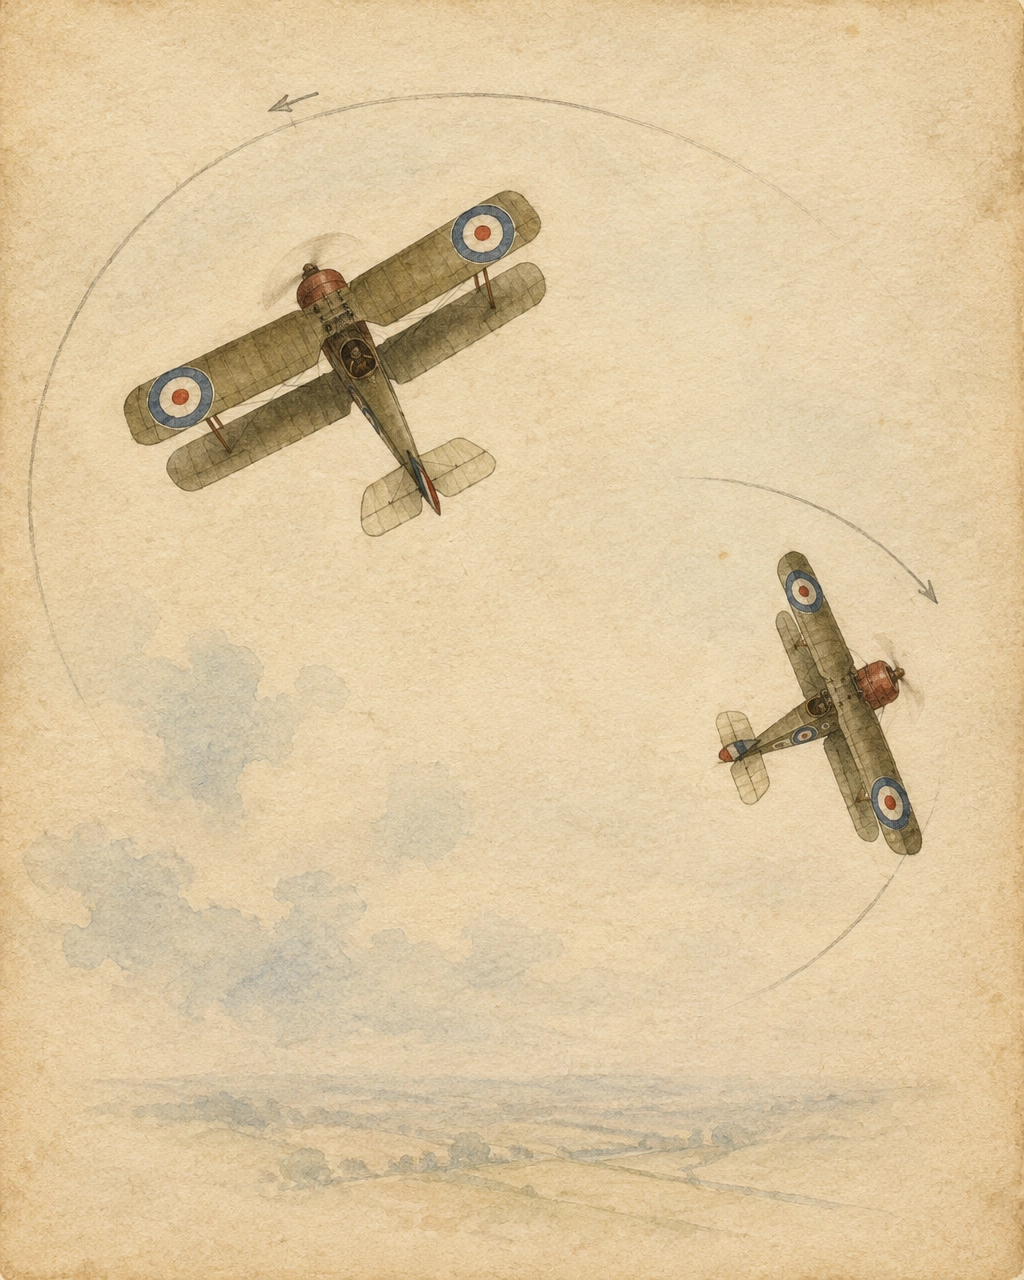
In close combat, the Camel's rapid response could be a weapon. A pilot who recognised an opening could bring the nose onto a target before a less nimble opponent completed the same manoeuvre. But any turn spent pulling hard at low speed risked sacrificing energy. The machine rewarded accurate control, not panic.
A right-hand turn could also serve as a feint or a way to reposition. The pilot might make the enemy react to the first movement, then use the Camel's quick response to change the geometry of the fight. That was not a guaranteed trick. It depended on altitude, speed, the opponent's position and the Camel pilot's ability to keep the aeroplane flying cleanly.
A fighter that demanded the pilot's attention
The Camel was not a stable platform that could be left alone while its pilot planned the next move. It needed close attention to speed, attitude and control pressure. At low speed, a badly handled turn could end in a stall and spin. Recovering required the pilot to know what the aeroplane was doing, rather than simply hauling back on the stick.
That was a hard lesson for trainees. A manoeuvre that an experienced pilot could make look effortless might become unrecoverable in inexperienced hands, especially near the ground. The rotary engine's effects added to the workload, but the hazard was not a single mechanical flaw. It was the combination of sensitive controls, changing responses, speed and a pilot still learning the machine.
The same qualities made the Camel effective in the hands of experienced airmen. Many successful British aces flew it, including Raymond Collishaw and William Barker. Their skill did not remove the risks; it allowed them to judge when the Camel's agility was worth the energy and altitude they might spend to use it.
The price of agility in a changing air war
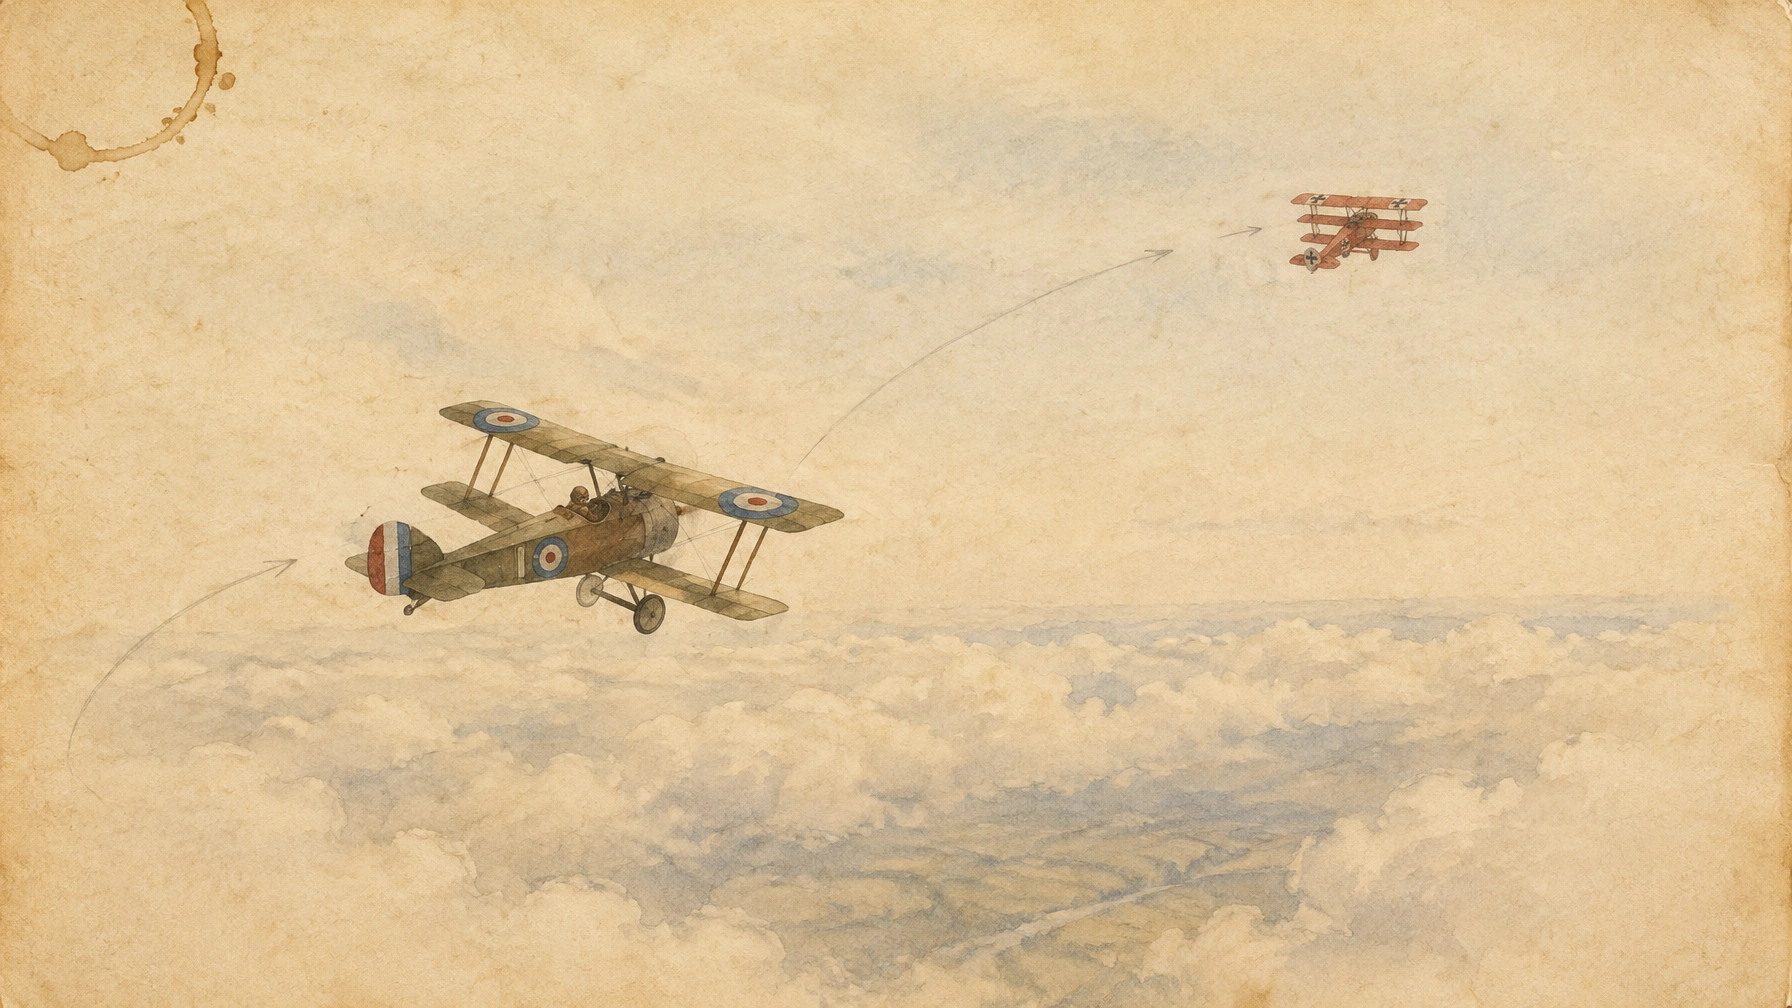
The Camel was formidable, but it was not the fastest fighter in the sky. By 1918, newer German types, including the Fokker D.VII, could make a Camel pilot's choice difficult. If the enemy held the advantage in speed or altitude, pursuing could leave the Camel slow and exposed. Breaking away might preserve the aeroplane and pilot, but it also meant giving up the chance to press the attack.
That trade-off was central to flying a Camel. A tight turn could bring its guns to bear, but the pilot had to consider what would remain afterwards: enough speed to manoeuvre again, enough altitude to recover, and a clear route home. The sensible decision was not always to continue the fight.
The Camel is also tied to one of the war's most familiar controversies. On 21 April 1918, Manfred von Richthofen's final flight brought him into contact with Camel pilots of No. 209 Squadron. Captain Roy Brown was officially credited with the victory, but Australian ground gunners also fired at Richthofen's red Fokker Dr.I. The Australian War Memorial recounts the competing claims, while PBS NOVA's account of the evidence explains why the fatal shot's source remains disputed. Brown's official credit is part of the record; certainty about who fired the fatal shot is not.
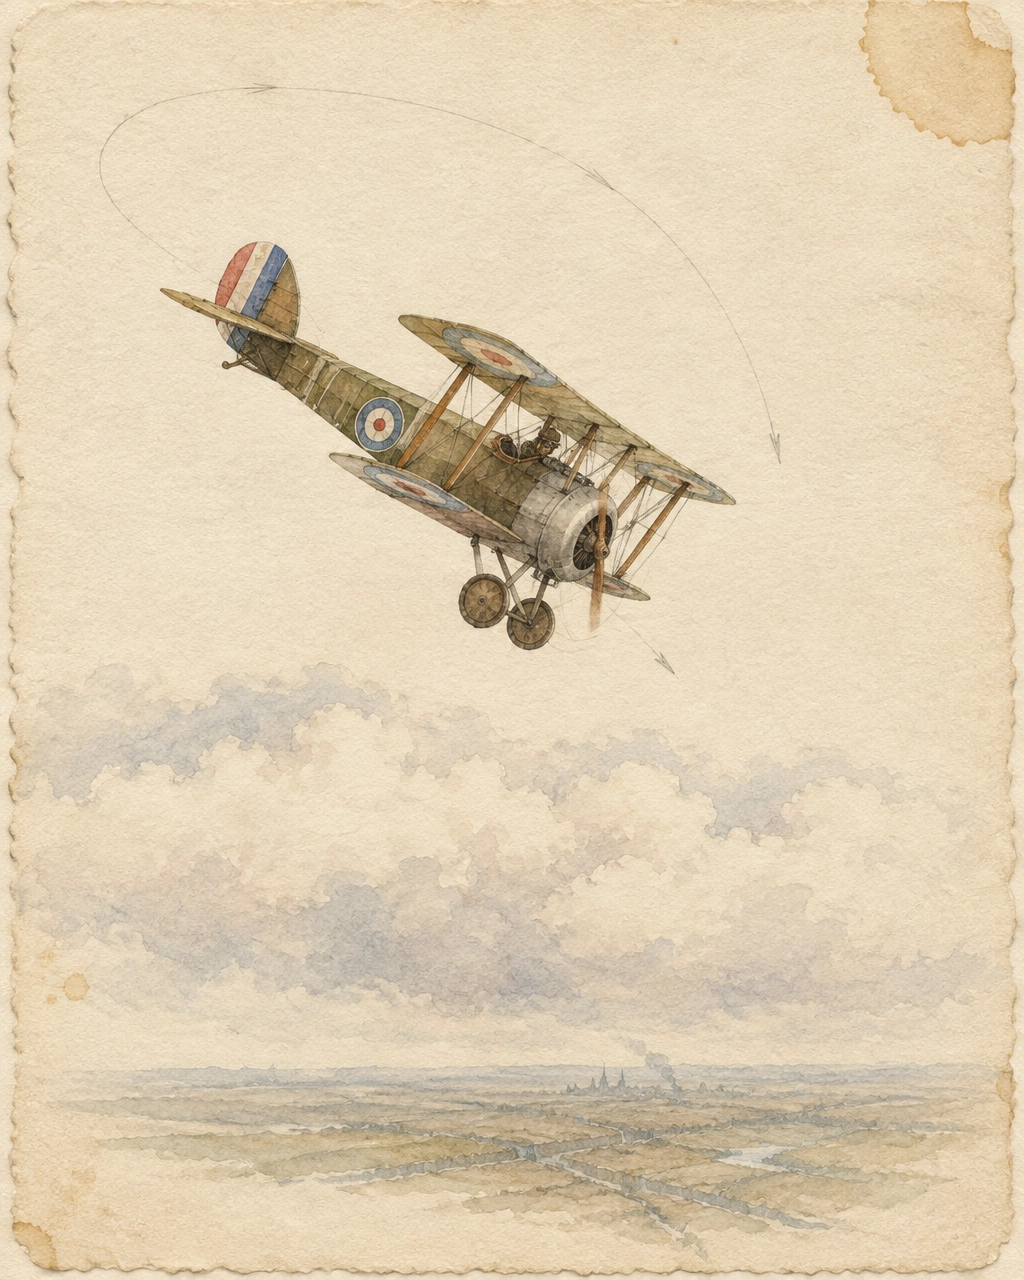
The Camel's record does not make it a simple story of a perfect fighter. It was a capable biplane, but not forgiving. Its handling could help a pilot gain position in a close fight, and could punish a pilot who mistook a quick response for a safe one. Like other WW1 fighter planes, it had to be understood as a particular machine, with particular limits, not as a collection of headline performance figures.
Know the machine before committing to the fight
The most useful lesson from the Camel is to learn how an aircraft behaves when the controls are used in different directions. A pilot who anticipated the nose's movement could make a turn work for him. A pilot who ignored that movement could lose speed, altitude and control at the moment he needed them most.
That lesson matters in a WW1 dogfight, where the opponent's position is only part of the problem. The pilot must also read his own energy and decide whether to turn, climb, break away or run home. A machine's quirks can become weapons, but only when the pilot knows what they will cost.
In Combat Aces: WWI, the Camel is the aeroplane you strap into. Its torque and tight left turn are modelled in the game's flight rules, so the question is not only where the enemy is, but how the Camel will answer your controls.
Practical takeaway: Before committing to a turn, check your speed and altitude, then think about how your aeroplane will respond in that direction. Learn the machine's asymmetries before you need them in a fight. Try Combat Aces: WWI and see how the Camel's handling shapes your next decision.
FAQ
What made the Sopwith Camel difficult to fly?
Its light, sensitive handling and rotary engine created strong directional and pitch effects. At low speed, an inexperienced pilot could mishandle a turn and enter a stall or spin.
Did the Sopwith Camel turn faster to the right or left?
The Camel was known for an especially abrupt response in some right-hand manoeuvres, while the nose tended to rise in left turns and drop in right turns. The exact response depended on speed, control inputs and the type of turn, so the shorthand is not a rule for every situation.
Was the Sopwith Camel a successful WW1 fighter plane?
Yes. It was the most successful Allied fighter type of the war by victories credited to the aircraft. Its effectiveness came with demanding handling and substantial risks, particularly for inexperienced pilots.
Who shot down Manfred von Richthofen?
The RAF officially credited Captain Roy Brown of No. 209 Squadron. Australian ground gunners also claimed to have fired on Richthofen, and the source of the fatal shot remains contested.